

Showing posts with label speedpainting. Show all posts
Showing posts with label speedpainting. Show all posts
Monday, February 16, 2015

Wednesday, March 20, 2013
Fanart - Lara Croft, Black Cat, Ghost Rider
Some recent fanart. Lara Croft for the upcoming Tomb Raider remake video game. Black Cat portrait, referenced cosplay model Gabriella Tacchi. And Ghost Rider, cuz I've never painted him before :). Enjoy!


Tuesday, February 19, 2013
Art Dump
I haven't posted here in a while, but I've still been drawing. So I'm just going to dump some of my recent paintings into this post and I'll try to be more regular with posting after this. I've been busy :). I hope you enjoy!


Friday, October 12, 2012
Character Concept - The Reaper
 This is a quick character concept. This guy is awesome. Can't wait to paint him in action.
-Chris Shehan
Tuesday, October 2, 2012
Creature Concept - 009
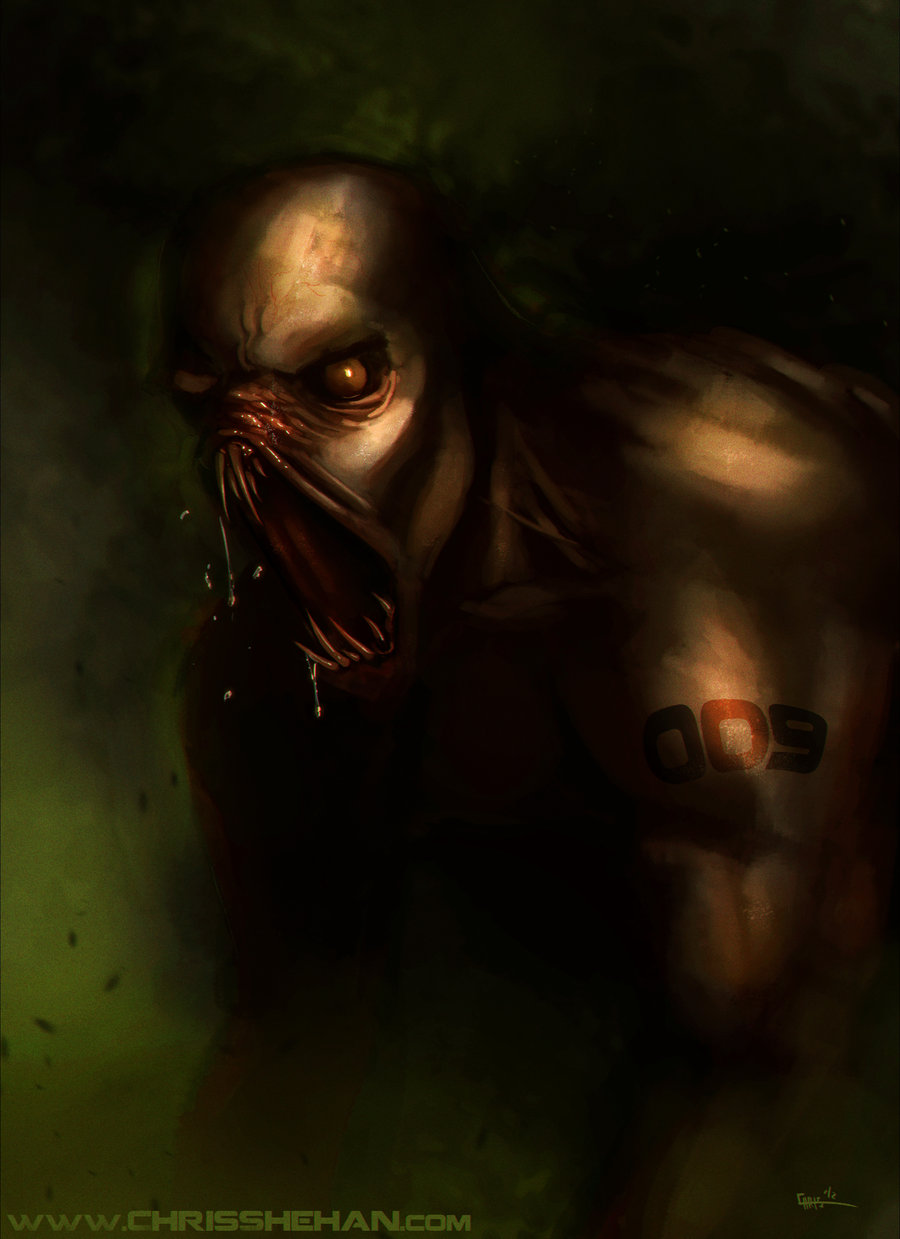
-Chris Shehan
Saturday, May 12, 2012
Interstate 60

Speedpainting commission for a motorcycle riding, car fixing, drag racing, handlebar mustache wearing 60 year old for his 60th birthday. My cousin got me to do this for my uncle who's turning 60. It was all his idea, I just brought it to life. I gotta say, this was a fun one. This is the life. Cross country road trips, seeing beautiful things. I'm all about experiences and travel. Enjoy!
Wednesday, March 28, 2012
Speedpainting - Rocker Frank

Wednesday, February 29, 2012
Lighting and Atmosphere - Grasslands

I always try to get some sort of interesting lighting scheme. Sometimes I get realistic lighting, and sometimes I prefer to get what's called "stage lighting". Meaning you normally wouldn't see lighting like that in real life, but it works great for compositional purposes. For example, when you see a movie and a person's face is fully lit from all sides, yet so is the person they're talking to who's facing them. Where could that light possibly be coming from? Or to a more extreme level, when you play a video game and there's always a light in the direction that you're supposed to go. Where as in real life it might be harder to find that door to the next area. The lights are designed to lead your eye a certain way, lead your character a certain way, or set a mood. This is "stage lighting" because it's fake, believable light that serves as a compositional tool.
In the example above, I didn't necessarily have a purpose for the lighting, but it was more of a test to see if I could get some sort of mood and atmosphere with it. To achieve this I paint the character and the background in fairly flat, darker colors. Once the values are all there I use a "color dodge" layer in photoshop to paint some hot spots on the robot. I hardly use "color dodge" anymore and I don't recommend it unless it's used VERY lightly. After that I make a new layer and set it to "screen" and with a soft brush I start painting in light coming from the top right. "Screen" layers are GREAT for lighting and atmosphere. The reason is because a "screen" layer mixes the color you've chosen with the background, but also lightens the background and diffuses it as well. In real life, atmospheric perspective does the same things. Like when you see mountains that are far away, they are usually just a blue silhouette. The blue in the atmosphere mixes with the colors of the mountain and also the dark and light contrast fades away as well. After adding the lighting with the screen layer I then add a shadow layer set to "multiply". I pick a blue color for this to not only compliment the yellows and oranges, but to show the shadow is much cooler than the light. This happens in real life too, you'll notice a lot of times shadows have a blue or purple tint to them. "Multiply" layer is almost the exact opposite of a "screen" layer. It mixes colors with the layers below, but it darkens them. Great for shadows. This not only balances the composition but makes the light seem brighter and hotter than before.
Lastly, for added atmosphere, I always like to throw dust and particles into the atmosphere. Showing different levels of particles in the foreground, mid ground, and background gives the feeling of depth. Rain, snow, bubbles, dust, fire embers, all of these help make the subject matter seem like it's in a 3D plain rather than a 2D one.
So I hope that all helps! I'll do a more in-depth lighting tutorial later on so watch out for that. And last, but not least, here's the video of this painting.
Thursday, February 16, 2012
Speedpaintings
 Here are some speedpaintings I've done recently. I've been working on my portfolio so the only time I have for personal art is just a few hours which is perfect time for speedpaintings. What are speedpaintings exactly?
 Speedpaintings were invented by concept artists in the film and video game industry. Everything you see in a movie or a video game, down to the lighting and colors used in the shot, started with an artist. In the entertainment industry there is not a lot of time, and a lot of deadlines, especially for artists. So in order to crank out more artwork, artists started doing speedpaintings. Speedpaintings generally take from 30 minutes to an hour or two. The point is for a painting to be finished enough to get the point across. Not a lot of detail, mainly implied detail. The things artists need to get across in this amount of time are design and mood usually. Sometimes one over the other. So colors and shapes are most important during this process, not details. Over time, artists learn to imply details using quick textures or brush strokes.
 If you were to zoom in on the speedpaintings shown here, there really wouldn't be very much detail at all. Each of these paintings was done in an hour or two. Speedpaintings are also great for practice, and warming up before doing other work. In the examples shown here, I was mainly practicing lighting, color palettes, and composition. Three very important things for production work. A lot of times, an artist will do several speedpaintings to help decide how their final piece will look. For example, I could take one of the paintings shown here, use everything shown, color, composition, and lighting, and just refine it to the point of being a fully finished painting, details and all. All of the hard work is already done for me, it'd just be rendering and detailing from there.
So speedpaintings have many useful purposes. For another great, more in-depth article on speedpainting with some other great examples, click here. Remember, a speedpainting's main function is to get a point across, and not to serve as a finished painting. Use it as a tool, and not as a crutch. Keep drawing!
-ZhouRules (Chris Shehan)
Subscribe to:
Posts (Atom)